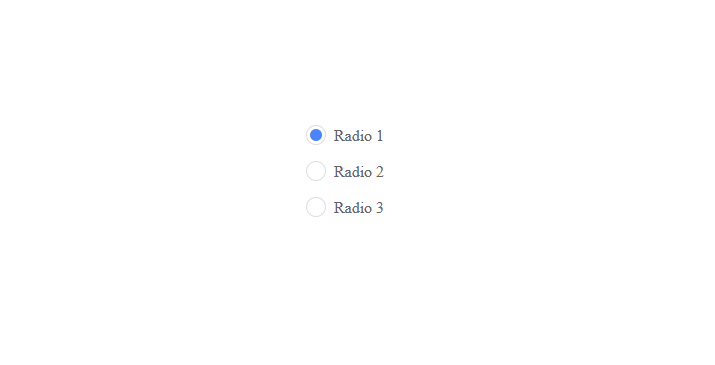
Custom radio buttons pure CSS & HTML
21 March 2020
Hello everyone, last time we had a quick overview on how to create animated responsive menu and today we are going to play with RADIO buttons. Most of us doesn't like the way default radio button looks, so here is a small code snippet that will make it attractive.
First of all you will have to put this code into your css file.
[type="radio"]:checked,
[type="radio"]:not(:checked) {
    position: absolute;
    left: -9999px;
}
[type="radio"]:checked + label,
[type="radio"]:not(:checked) + label
{
    position: relative;
    padding-left: 28px;
    cursor: pointer;
    line-height: 20px;
    display: inline-block;
    color: #666;
}
[type="radio"]:checked + label:before,
[type="radio"]:not(:checked) + label:before {
    content: '';
    position: absolute;
    left: 0;
    top: 0;
    width: 18px;
    height: 18px;
    border: 1px solid #ddd;
    border-radius: 100%;
    background: #fff;
}
[type="radio"]:checked + label:after,
[type="radio"]:not(:checked) + label:after {
    content: '';
    width: 12px;
    height: 12px;
    background: #4C84FF;
    position: absolute;
    top: 4px;
    left: 4px;
    border-radius: 100%;
    -webkit-transition: all 0.2s ease;
    transition: all 0.2s ease;
}
[type="radio"]:not(:checked) + label:after {
    opacity: 0;
    -webkit-transform: scale(0);
    transform: scale(0);
}
[type="radio"]:checked + label:after {
    opacity: 1;
    -webkit-transform: scale(1);
    transform: scale(1);
}
Then you will have to add radio buttons in your view file.
<input id="radio_1" name="radio" type="radio">
<label for="radio_1" >Radio 1</label>

<input id="radio_2" name="radio" type="radio">
<label for="radio_2" > Radio 2</label>

<input id="radio_3" name="radio" type="radio">
<label for="radio_3" > Radio 3</label>
Please take your attention on label, as you see it is refering to input with 'for' attribute. So to make this work you will have to set unqiue ID on input and refer to it on label using for attribute.
Also here is the working example on CodePen.
See the Pen Custom radio buttons pure CSS & HTML by Dineuron (@dineuron) on CodePen.
That's it! Thanks


